

In this post you will learn about how to fix the issue where Internet Explorer blinks and immediately closes when opened. I have been searching for a fix for this since the issue occurred with little success. However during my research I was not able to find a step by step guide, but I did get pointed in the right direction. So that is why I am creating this post. This will be the step by step fix that I wish I could have found a week ago.
Sure, I could have just installed another browsing application like Chrome or Firefox. However when you are in a controlled business environment where Internet Explorer browser is required to use due to legacy applications…. It makes things more difficult. I did not want to reload my computer because of this one annoying issue where internet explorer closes immediately. Read more about the fix below!
The Problem: Internet Explorer Blinks and Immediately Closes When Opened

So Internet Explorer blinks now when I open it on my computer at work. It all of a sudden just decided to quit working and immediately close when I try to launch Internet Explorer. Why this happened exactly is unclear.
What I do know is that it was highly aggravating and the help out on the internet didn’t give me the clear answer or fix. Basically the simple fixes did not work. Here is what fixed my issue with Internet Explorer where it blinks or opens and closes immediately.
How To Fix Internet Explorer Blinks and Immediately Closes When Opened

Here is the 10 step process that I used to fix this issue
STEP 1 - Remove the Internet Explorer Feature From Windows
First I removed the Internet Explorer feature from the control panel. This fix was applied to a PC running Windows 7 by the way.
<Insert Image>Add Remove Internet Explorer feature
Click here to see the post on how to remove a feature from Windows 7
(Post should open in a new window)STEP 2 - Reboot
Once the feature has been removed, reboot the PC.
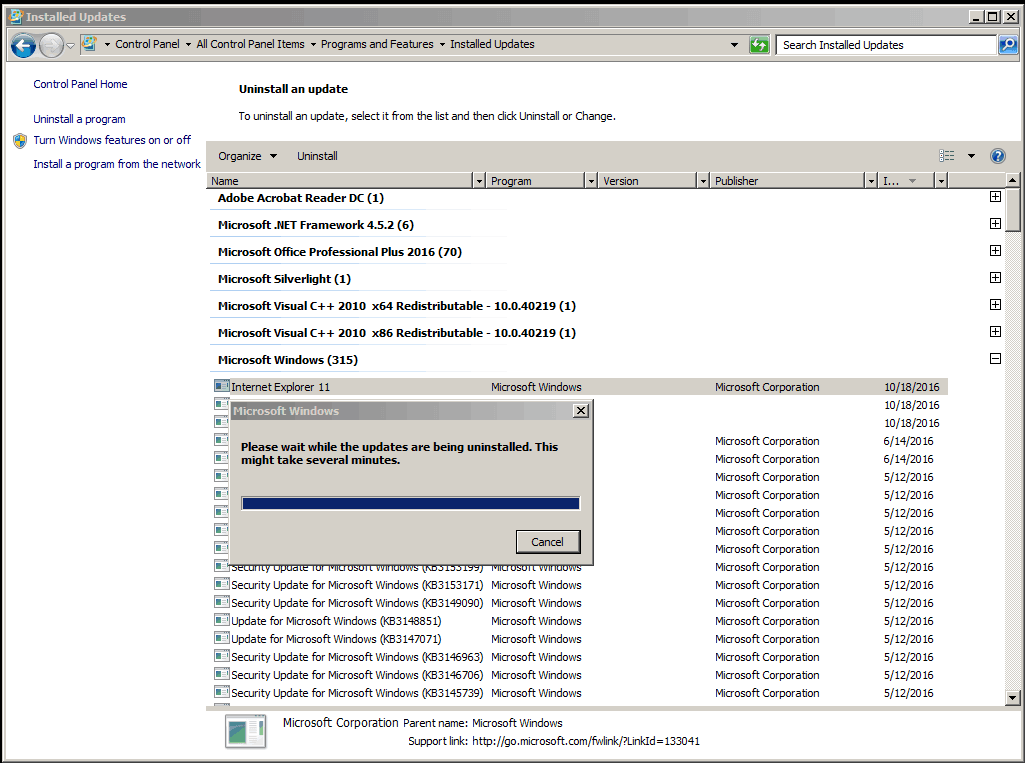
STEP 3 - Uninstall Internet Explorer Version
In my scenario, I have Internet Explorer 11 installed.
So I went into my PC’s installed updates and removed the Internet Explorer 11 installation. See image below.
You will need to select the update file name and click uninstall.
STEP 4 - Reboot
Once the uninstall completes it will ask you to reboot.
Reboot the PC.
STEP 5 - Uninstall Older Internet Explorer Version
So in my scenario, I had Internet Explorer 11 installed. By doing the uninstall, Windows automatically downgraded me to Internet Explorer 10.
So either you are in the same spot as me (Internet Explorer 10 is installed) or you now have no Internet Explorer installations listed.
If You Have IE 10 Installed
So if you have Internet Explorer 10 installed, go back to your PC’s installed updates again and remove the Internet Explorer 10 installation. See image below.
You will need to select the update file name and click uninstall.

If you have no Internet Explorer installations listed then go to Step 7
STEP 6 - Reboot
Once the uninstall completes it will ask you to reboot.
Reboot the PC.
STEP 7 - Turn Internet Explorer Feature Back On
When you look at the installed updates on your PC you should not see anymore installations of Internet Explorer listed. Make sure to go through all listed updates to verify that you are all clear.
If you cannot locate any Internet Explorer installations, you are ready to re-enable the Internet Explorer feature.
Please refer to the post on how to add or remove windows features here
This is a screenshot of the feature being re-added.
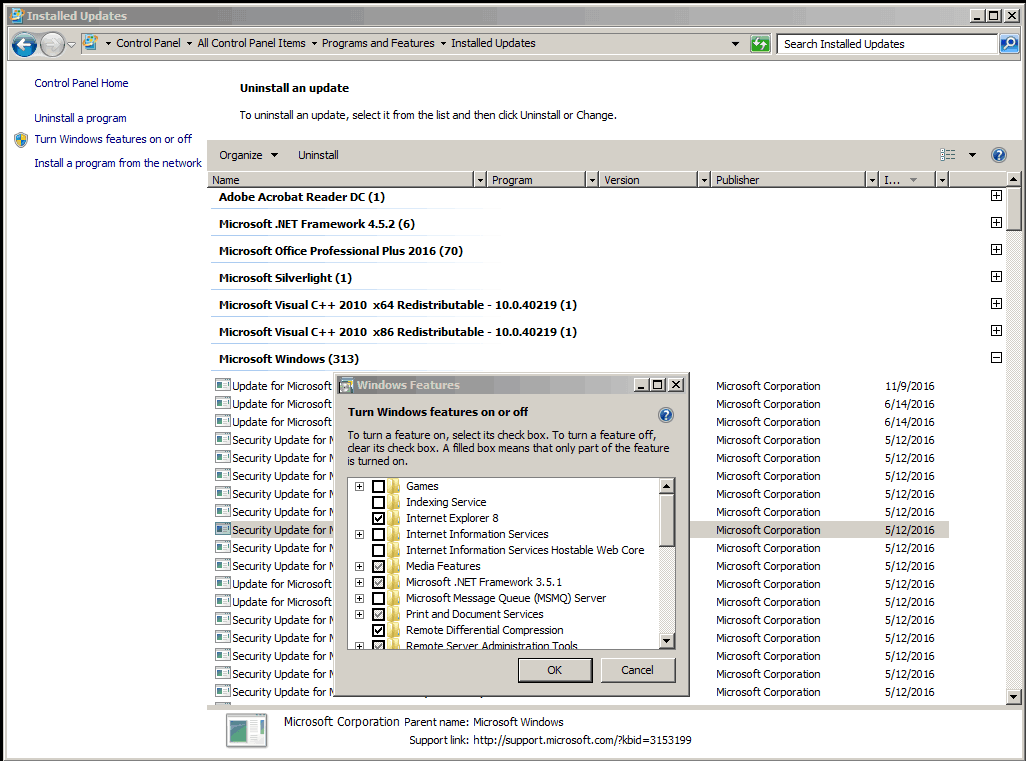
Once it loads, the checkbox for Internet Explorer should be checked. If not put a check in the box and click OK
STEP 8 - Reboot
Once the feature installs and the box disappears, reboot the PC.
STEP 9 - Test Internet Explorer
At this point Windows should have reinstalled Internet Explorer 8 on your PC. Try and launch the application to see if it works properly! It should open up without any issues.
Congrats!! Now that it will launch and you can browse again, there is only 1 thing left to do!
STEP 10 - Upgrade Internet Explorer
Now that Internet Explorer is working again, you will need to update it back to version 11. This is mainly due to security issues with the older versions of IE and additionally most websites no longer support viewing their content on the older versions of Internet Explorer.
You can do this by running Windows Updates or you can go directly to Microsoft’s website and download the installation package for Internet Explorer 11.
If you found this helpful and can now access your file(s), please take a second to share it on social media, vote below, and let us know that you liked our post! Thanks for visiting!


Recent Comments